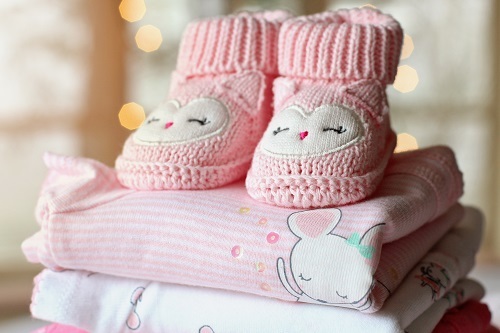
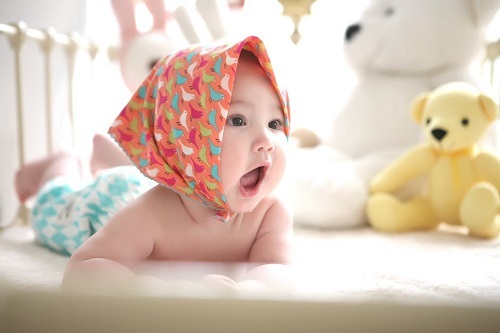
4 Simple and Easy Things You Can Make for Your Baby

Arnie Ruxana
19th October 2017 - 6 min read
Step into any mother-and-baby store (such as Mothercare and Fabulous Mum) and you may observe that the number of eco-conscious products in these stores are rising. Some stores even have a dedicated corner for handmade and homegrown products.
While we laud the efforts these stores are making for bringing in these niche products, we can’t help but notice that these products often come with high price tags. Sure, handmade baby products can be safer for your baby, but as a parent(s) you need to think about your child(ren)’s – and your – financial future too. Also, read our savings tips for new parents on our 9 Ways You Can Stretch Your Money as New Parents article!
So, instead of spending thousands on baby things that you can easily make yourself, channel that money to your child(ren)’s education fund or savings account for the future. Here are some of the things that you can easily make for your little bundle of joy, and at the same time, deepen your parent-child bond;
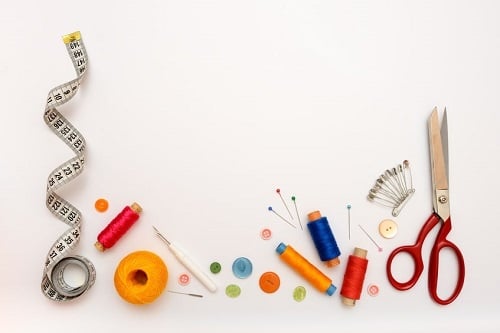
1. No Sew Baby Blanket
For those who are averse to sewing machines, rejoice as it is indeed possible to make a baby blanket with minimum sewing skills and a lot of dedication. You will need:
• 1 meter of patterned anti-pill fleece
• Fabric scissors
• 4”x4” cardboard square
• Ruler
• A steady pair of hands
- First, lay the solid colored piece of fleece on a wide surface.
- Next, spread out the patterned piece of fleece and place it on top of the solid colored one. Smooth out the fabric wrinkles and ensure that all 4 corners are aligned properly.
- Once you have done step 2, cut out a square on each of the 4 corners by using the 4” x 4” cardboard template.
- Holding both pieces of fleece together, cut 4” deep and 1” wide fringes down all 4 sides.
- Start tying double knots using both pieces of fabric from each fringe.
- Your baby blanket is now complete!

2. Homemade Baby Wipes
Concerned about the chemicals you can’t even pronounce in the store-bought baby wipes? No worries, you can make your very own, cruelty-free, skin-friendly baby wipes. You will need:
• ½ roll heavy-duty paper towels
• ½ tablespoon of castile soap
• 1 cup of warm water
• ½ tablespoon of coconut oil/olive oil
• 1-2 drops essential oil (lavender or geranium)
• 1 old shoe box
- Cut the roll of paper towels in half using a sharp knife.
- Fold the sliced paper towels into the shape of an accordion and fit it into the shoe container.
- Pour the cup of water into the bowl. Next, add the castile soap, coconut oil and essential oil and stir.
- Pour the mixture over the paper towels and let it absorb. This will take from 7 to 10 minutes.
- Ensure that the wipes are well soaked on both sides.
- Take out the wipes and place it into the old shoebox. Store it in a cool, covered area.
3. Teething Toys
If you ever had the luck of caring for a teething baby, you would note that she will want to get her mouth on everything and sometimes, you too will be a part of her teething toy.
Avoid this by letting her chomp on these safely made, home-made toys instead! You will need:
• Cotton fabric for the front layer
• Terry cloth fabric for the back layer
• 2 ½ inch wood rings
• Headpins
• Fabric scissors
• Pattern piece for ‘bunny ears’
- Prepare the pattern piece for your bunny ears by using the tracing paper.
- Cut out the bunny ear shape on the cotton fabric. Ensure that the fold is cut so that the size is consistent.
- Do the same thing as no.2, cut out the bunny ear shape on the terry cloth fabric.
- Place both pieces together and keep it in place with head pins.
- Sew the outer edges using a ¼ inch seam allowance, leaving a 2-inch opening along the side. Without slicing through your seam, cut off the tip at each end.
- Turn the right side out through the side opening, poke out the ends and iron it flat. Ensure that you fold the edges towards the inside.
- Top stitch the bunny ears, using a 1/8 seam allowance. Then, place the fabric trip on top of the wood rings, pinching it in the middle.
- Grab both pointed tips and wrap it around the ring and under, coming through the center of the ring.
- Ensure that both tips are facing the same way before pulling it through. Pull it until your knot is secured and you can see two tiny bunny ears coming out the top.
4. Baby Bibs
Found a few graphic tees that have seen better days? Give them a new lease of life by upcycling them into cool baby bibs which is not only practical but cute at the same time. You will need:
• The bib patterns
• Fabric scissors
• A sewing machine
• Head pins
• Tracing paper
• Clear tape
- Cut out the bib pattern and trace the pieces backwards onto separate sheets of paper.
- Cut out the second pattern pieces. Leave a small tab on the side of the bib piece and the bottom of the strap piece.
- Use clear tape to tape together the bib pattern piece. Cut your tee-shirt down the side seams and lay it flat on the table
- Place the pattern piece over the shirt design that you want to feature. Adjust the pieces until it is all set in place.
- Cut the bib out. Then, use the bib that you have cut out as a reference for the back of your bib. Lay your bib upside down on the fabric that you have chosen for the bib’s back, pin and cut.
- Keeping the right sides together of the two pieces, sew with a 1/4” seam allowance all the way around. Retain a small opening on the side of the bib to turn it inside out.
- Turn your bib inside out and press out the seams. Fold the opening and pin it shut. Sew around the bib with a 1/4″ seam allowance.
- Cut a small velcro and place it on the short side of one strap. Sew around the edges of the velcro.
- Place the other half of the velcro on top of the one you just sewed. Place the straps on top of each other so that it will overlap, then peel off the second piece of velcro. Sew this piece of velcro on and voila, you’re done!
We hope that these handy tips will help you in your quest to save more money for your upcoming plans! Curious to know what are the things that you can do with the extra moolah that you have set aside?
As mentioned above, you can always start an education or savings fund for your baby dearest. If you’re looking for a junior savings account with the highest interest rate to help your child(ren)’s savings grow larger, compare the most popular junior savings accounts in Malaysia on our comparison page!
Have you ever DIY-ed baby stuff before? Share your experiences and ideas in the comment section below!

About THE AUTHOR
Arnie Ruxana
Top Household Budgeting Articles
Top Household Budgeting Articles

How Much Does Water Cost in Malaysia?
In light of the recent news that Selangor and the Federal States' water supply might get more expensive, we check out how much the rest of the country is paying for their water supply.

6 Part-time Ways to Make Money
Have you suddenly found yourself out of a job, strapped for cash or making the decision to be a stay-at-home-parent? Here are some ways on how to earn money online in Malaysia for extra cash without a full-time job.

The Government Is Offering RM200 Rebate On Energy Efficient Appliances – Claim It Now On Shopee
The SAVE 2.0 programme, which allows Malaysians to claim RM200 vouchers to use on purchases of energy-efficient air […]

Awesome State Benefits in Malaysia Your Newborn Kid is Entitled To
Curious to know what are the state benefits offered to welcome new babies around Malaysia? Read on to find out which benefits your child is entitled to according to each state.
Related articles


Comments (0)